Weather Cloud Project Update

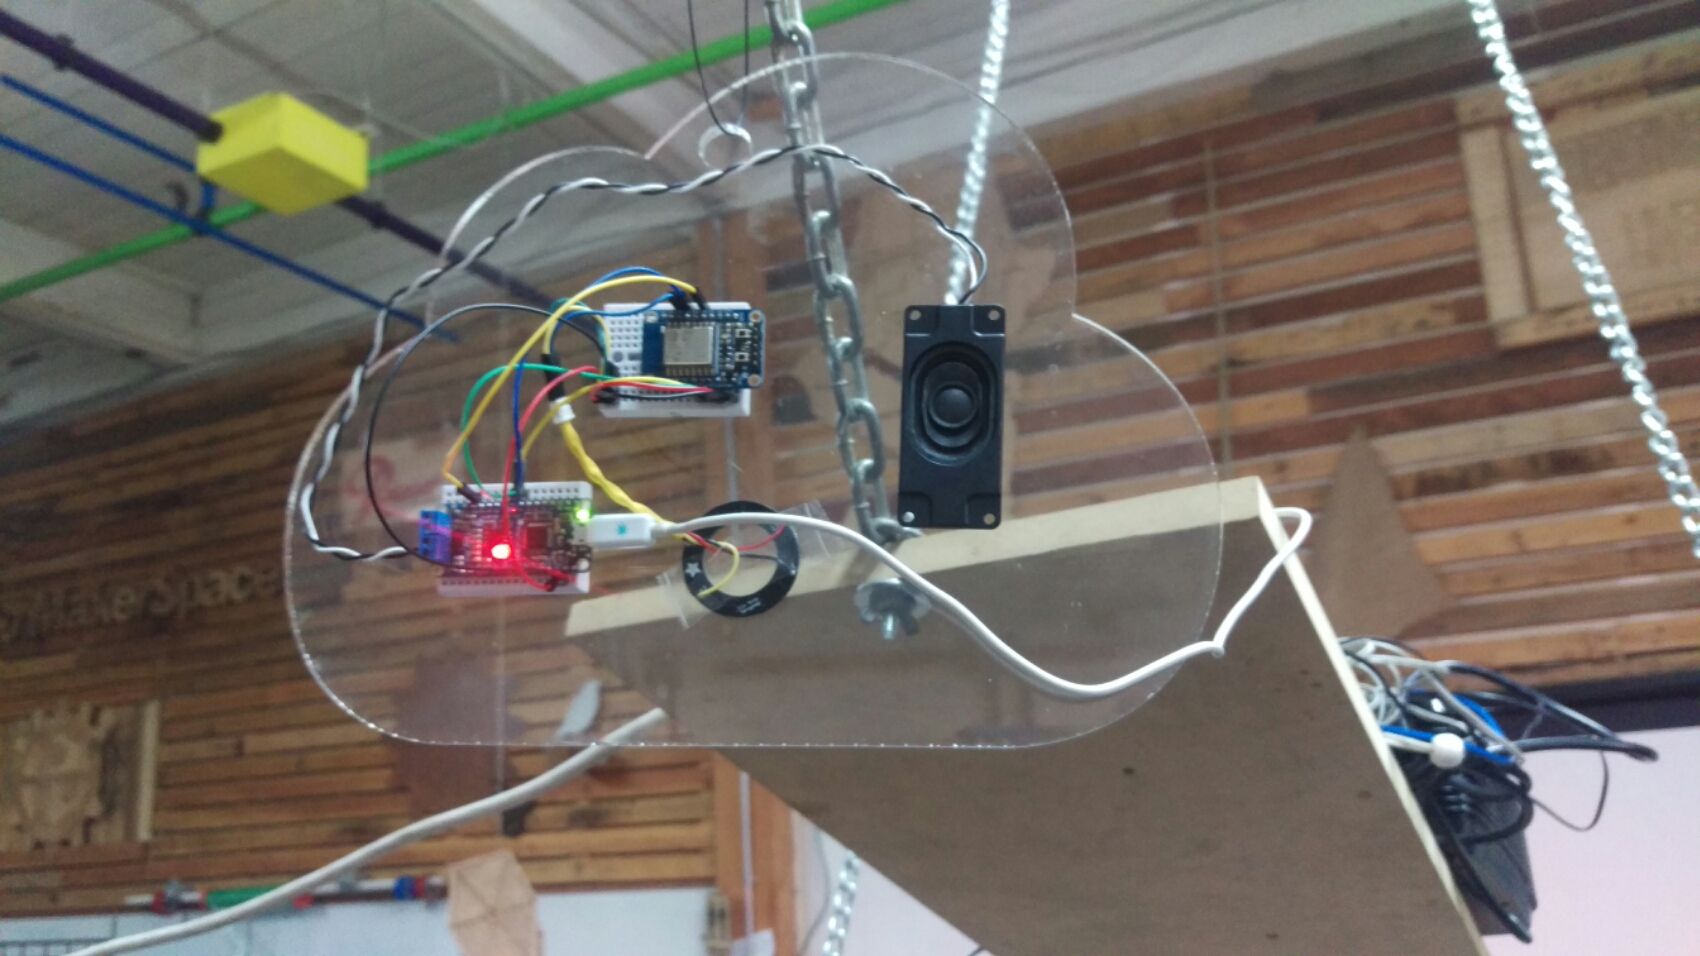
I have ported the code over to the Particle Photon and am working on some new lighting and sounds to represent data being sent to the device.

Thanks to James Bruce and his How to Build a Cloud Lamp with Sound Reactive Lightning tutorial, I think I have found a cool Thunder animation. Continue reading Weather Cloud Project Update

I made an X-mass scarf today…

image

With family coming in for Thanksgiving from all over, I wanted to make a holiday scarf that really slapped people in the face with a big sack of JOY! Something not so annoyingly gaudy that I would not go out in public with it, but at the same time visually irresistible.

So the Ultimate Holiday Scarf is born.

This scarf is designed to look like a Christmas tree with all the trimmings. Aside from the glittery tinsel, I added some NeoPixel LEDs from Adafruit to really brighten the mood. Upon startup, the scarf will play a holiday tune to get you going while putting on a colorful LED light show. People love the scarf, then drop their jaws when it is turned on.

The Cloud connected Weather Cloud

What better way to visualize cloud data than with an actual cloud. This project sets out to create a device that will visualize information using light and sound surrounded by a white fluffy cloud.

image

The Weather Cloud connects to Weather.com and pulls the current forecast for your location. Weather conditions are pre-programmed into the cloud that will put on a light and sound performance for each weather condition that comes up. You can use IFTTT to set up the connection to Weather.com as well as a schedule for the cloud to follow so that it is already showing you what to expect for your commute.

Aside from the default weather stuff, you can manually trigger any of the weather performances you want. It may be raining outside, but the sun is shining and the birds are chirping inside. Fall asleep to the soothing sounds of a rumbling thunderstorm.

Other notifications can also be added to the cloud. Use IFTTT to set up the cloud to blink red when you have new email or change from Blue to Green when the Seahawks game is on.

Now for the techy stuff, this device is powered by the Adafruit HUZZAH ESP8266 Wi-Fi board along with the SoundFX board and some NeoPixels. Adafruit.io and IFTTT provide the interaction between the user and device.

Limitations to overcome
All of the functions of the cloud works as described, however it dose take a moderate understanding of how to program the chip as well as update the API to get this all set up. This makes the initial setup not so user friendly… This needs to become more streamlined.

Connecting to the internet
Currently the Wi-Fi SSID and Password are set into the Arduino sketch that is flashed to the ESP8266 along with the Adafruit.io credentials. We need too get things set up so that this can all be setup and changed by connecting directly to the ESP8266 as a host. The ability to store multiple SSIDs would be cool while we are at it.

Now it’s time for data
The internet of things is not very good at doing things without an API to communicate with. Setting up accounts, managing feeds and public keys are not things that everyone considers as cool.

These are all issues that are easy to solve, but take time. Perhaps the first iteration of this kit will require a bit of technical knowledge, but will be easily fixed with a software patch. I am hoping that this will be a good gateway drug for IOT.

Just in case you are really interested, I recorded the entire prototyping process for this device. You can see all 4 hours of the process in the following videos:

Sorry that the audio is not super good. I am working on it 🙂

Super Low Budget Wearable Tech

I love doing wearable electronics and the price of entry for making wearable tech is supper low. Anyone can make something cool with the Adafruit GEMMA for about $20. However, my work with STEM Paths presents the challenge of trying to create an interesting project with a shoestring budget.

So, with that in mind, I give you my plan for the ~$2 wearable electronics kit. Well… this dose not include the price of conductive thread, and it dose require some pre soldering for the sensor… but $2 for a kit that will light up 6 LEDs when the lights go out.

So here is how I plan to do it:

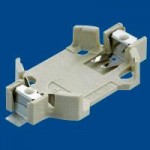
  • SMTU2032-LF_SPLI found this lovely battery holder on Mouser that has the perfect holes for stitching to fabric.
  • Then I found these $0.08 LEDs in Red, Green, and Yellow.
  • That is enough to make a light up wearable, but I really want this kit to do something other than just turn on when a battery is added.

DiagramThanks to Evil Mad Scientist, I added a phototransistor, NPN transistor, and a 1K resistor that will create an ambient light sensor. So now the LEDs will only light up when it is dark or during the night time.

Click the URL for a full list of parts that can be ordered from Mouser.com

http://www.mouser.com/ProjectManager/ProjectDetail.aspx?AccessID=8a33709065

The Hammer of Healing and Destruction

The LARP Hammer is a proof of concept that will use electronics to handle game mechanics as well as enhance game emersion by adding lights and sound. The image of the hammer is just an example and only the electronics are being developed for now. This post will be regularly updated with the projects progress.

The Weapon can both heal players as well as deliver powerful blows of devastation. This prop will have no buttons on it except to turn the power on. All actions and attacks will be initiated by wielding the weapon. Using the Adafruit LSM303 sensor, the weapon will track your moments to determine what mode you have selected or how much damage your hit dealt.

This will start out with four attack modes and one healing move.

Using the Hammer

To start the healing mode, you will need to hold the Hammer vertically for 30 seconds (to be set by the DM) without moving more than an inch or so. When the lights on the side turn green and start flashing, swing the hammer and hit the person that is to be healed. When you hear the crashing sound and the lights go out, you have just healed the player but it will not work again for 10 min (to be set by the DM)

A basic hit will register like a basic malay weapons, but only if the hit sound goes off meaning that the hit was hard enough to register.

If the hammer detects a half swing, the hit will be a low power move and count as a +1 hit. This is indicated by an energy discharge sound along with a short flash of light.

When the hammer completes a full 360 swing before hitting, this is a medium power move and counts as a +2 hit. This will make a more energetic sound with a brighter flash.

Three full 360 rotations of the hammer before a hit will activate the power hit delivering a +3 hit and the player that was hit will fall down for 10 seconds. This will make a bigger and long drown out discharge noise with a bright flash of lights. It can only be used 2 min after the last power move.

If you swing the hammer enough times to do the Power Hit, then hold the Hammer up vertically for 5 seconds, the lights will start to flicker and the power up sound will go off. When the lights go solid, slam the bottom of the hammers handle into the ground to activate the Power Move. This will unleash a blinding light and deep energy discharge. Everyone within 10 feet of you will take a malay hit as well as take 5 steps away from you. Once used the hammers energy will be drained and only standard malay hits will be available until it recharges in 10 min. If desired, the number of Power Moves can be limited and more given by using a special “key” that adds more on.

The Electronics

Sound Board Mapping:

  • T00HOLDL.OGG – Healing charge for 30 seconds, then hit and discharge.
  • T01.OGG – Emergency power up.
  • T02.OGG – Ethereal Cry.
  • T03.OGG – Ultra Bass Explosion
  • T04.OGG – Power up Machine
  • T05.OGG – Light Energy weapon
  • T06.OGG – Heavy Energy weapon
  • T07.OGG – Error sound.

Libraries used:

Sensor: https://learn.adafruit.com/flora-accelerometer/programming

Sound: https://learn.adafruit.com/adafruit-audio-fx-sound-board/serial-audio-control

Pins to be used:

Sound control:

  • #5 (TX)
  • #6 (RX)
  • #4 (RST)
  • #8 (ACT)

LEDs:

  • #3

Hit Buttons:

  • #14 – A0 Hammer Head hit (2 buttons for 1 trigger)
  • #19 Bottom Handel hit
  • #16 – A2 Copulative touch handle to activate the hammer.

Bluetooth Connection:

  • #13
  • #12
  • #11
  • #10
  • #9
  • #2

DIY Vacuum Former

This Saturday I will be trying to make a small Vacuum Former for heat forming plastic sheets. Vacuum Forming is a fast and easy way to copy 3D printed parts, provide a smooth plastic shell for finished products or to make your own Storm Trooper helmet.ST-armor

This will be my first time actually building one of these machines, but they are relatively easy and I have done similar stuff with heat forming acrylic using a toaster oven and home vacuum cleaner. The design will be loosely based on this Instructables tutorial.

For this build I will be using mostly reclaimed wood, two old toasters, and a small shop vacuum. I will be drawing up plans for the laser cutter and in the end I hope to publish a DIY guide to show others how to make a scalable version.


The Parts Are In

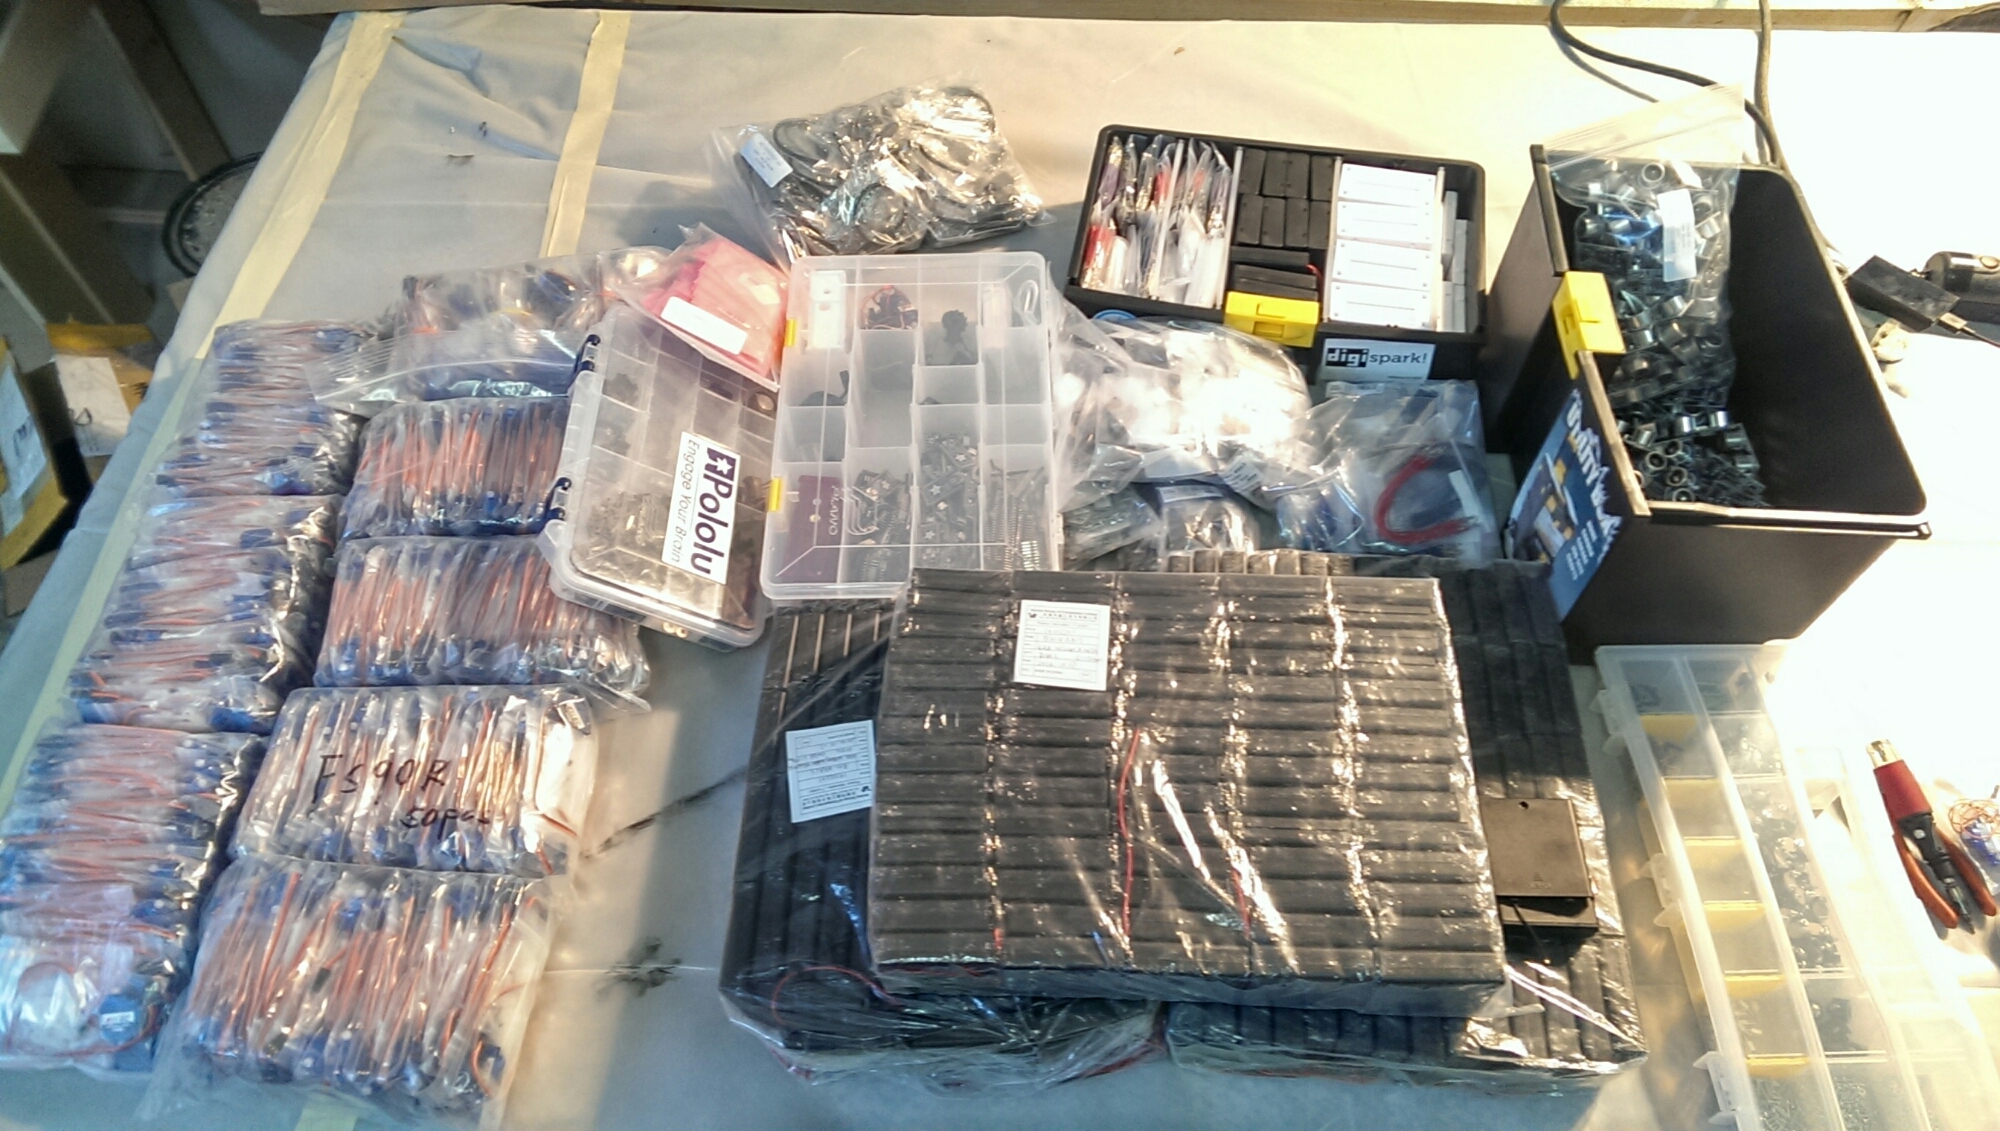
Sorry for the lack of updates, but the last shipment of parts has just arrived.

I have been organizing and building on stuff as it has come in. I even got a bit of help doing servo mods last weekend. I now have all of the parts needed to fulfill the crowd funding rewards and it looks like we will be able to get it all sent out near December 1st as expected.

wpid-wp-1415818422260A few unexpected surprises have come up along the way. I found a really good line sensor that matches the price of the old one. It will require a slight change to the chassis cut files, but it works much better and does not require a change in programming. Aside from that, I discovered that the servos now only come with 1 mounting screw rather than the 2 that previously secured the Servo horn to each wheel. I tried to see if I could get things to work with just 1 screw, but ultimately I just ordered some replacement screws that should arrive soon.

I have been working with a new Makerspace and just cut a deal for some discounted machine time in exchange for help with workshops and what not. The first chassis will be cut this Saturday and photos will soon follow.

Instructions, for those who ordered the inbuilt kits, is underway and now that I have parts to assemble, I will be adding photos soon.

We are one step closer to having a visual programming environment with Ardublocks. A friend has figured out how to set up the Java environment so we can create new blocks to work with the Hack-E-Bot. I will try to have that going shortly after shipping, but for now getting the kits sent out is my priority.

wpid-wp-1415818407424