We have started our 4th of July trip by hanging out on the beaches at Cape Cod in New England. Continue reading Cape Cod
Category: Personal Projects
Super Low Budget Wearable Tech
I love doing wearable electronics and the price of entry for making wearable tech is supper low. Anyone can make something cool with the Adafruit GEMMA for about $20. However, my work with STEM Paths presents the challenge of trying to create an interesting project with a shoestring budget.
So, with that in mind, I give you my plan for the ~$2 wearable electronics kit. Well… this dose not include the price of conductive thread, and it dose require some pre soldering for the sensor… but $2 for a kit that will light up 6 LEDs when the lights go out.
So here is how I plan to do it:
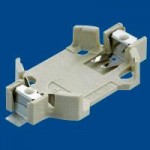 I found this lovely battery holder on Mouser that has the perfect holes for stitching to fabric.
- Then I found these $0.08 LEDs in Red, Green, and Yellow.
- That is enough to make a light up wearable, but I really want this kit to do something other than just turn on when a battery is added.
 Thanks to Evil Mad Scientist, I added a phototransistor, NPN transistor, and a 1K resistor that will create an ambient light sensor. So now the LEDs will only light up when it is dark or during the night time.
Click the URL for a full list of parts that can be ordered from Mouser.com
http://www.mouser.com/ProjectManager/ProjectDetail.aspx?AccessID=8a33709065
Fun With Foam
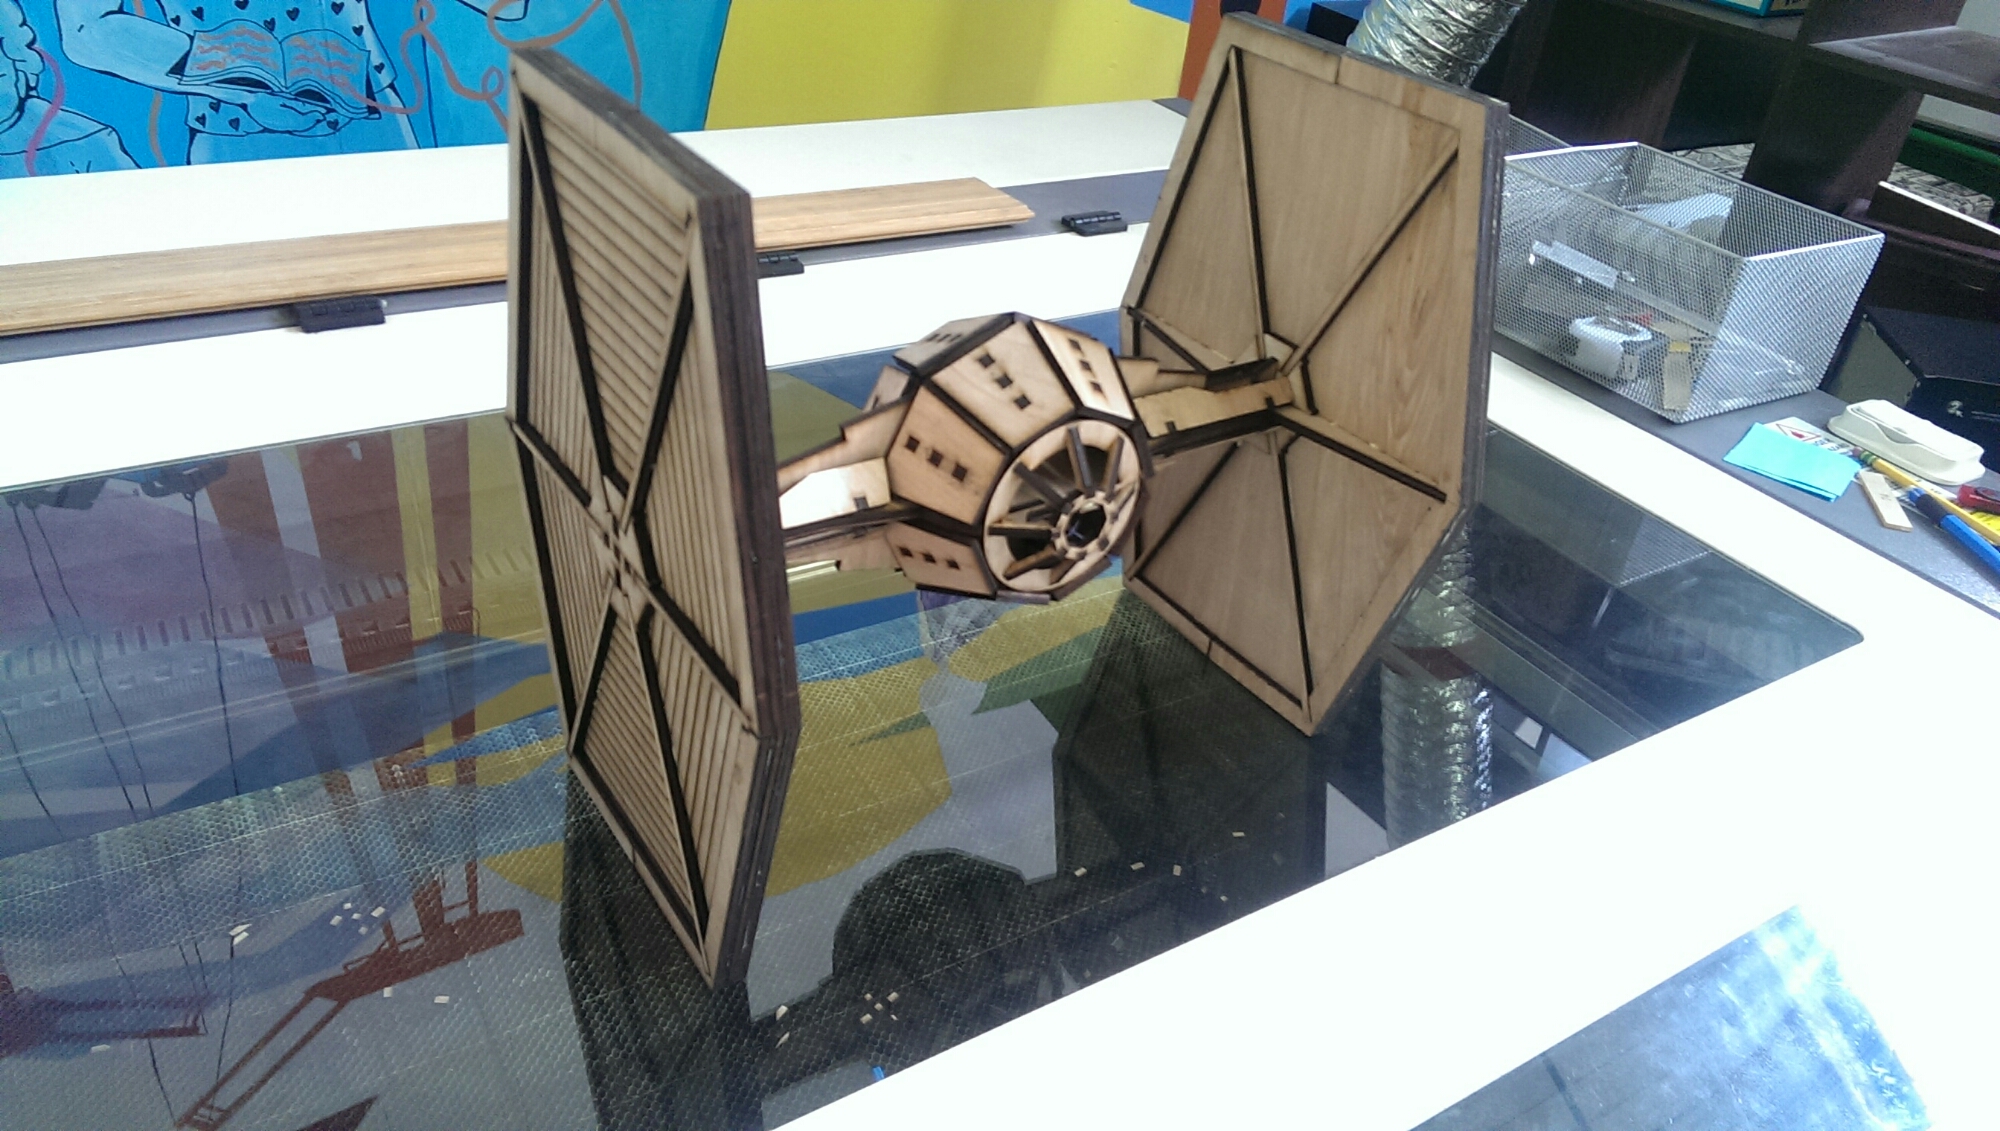
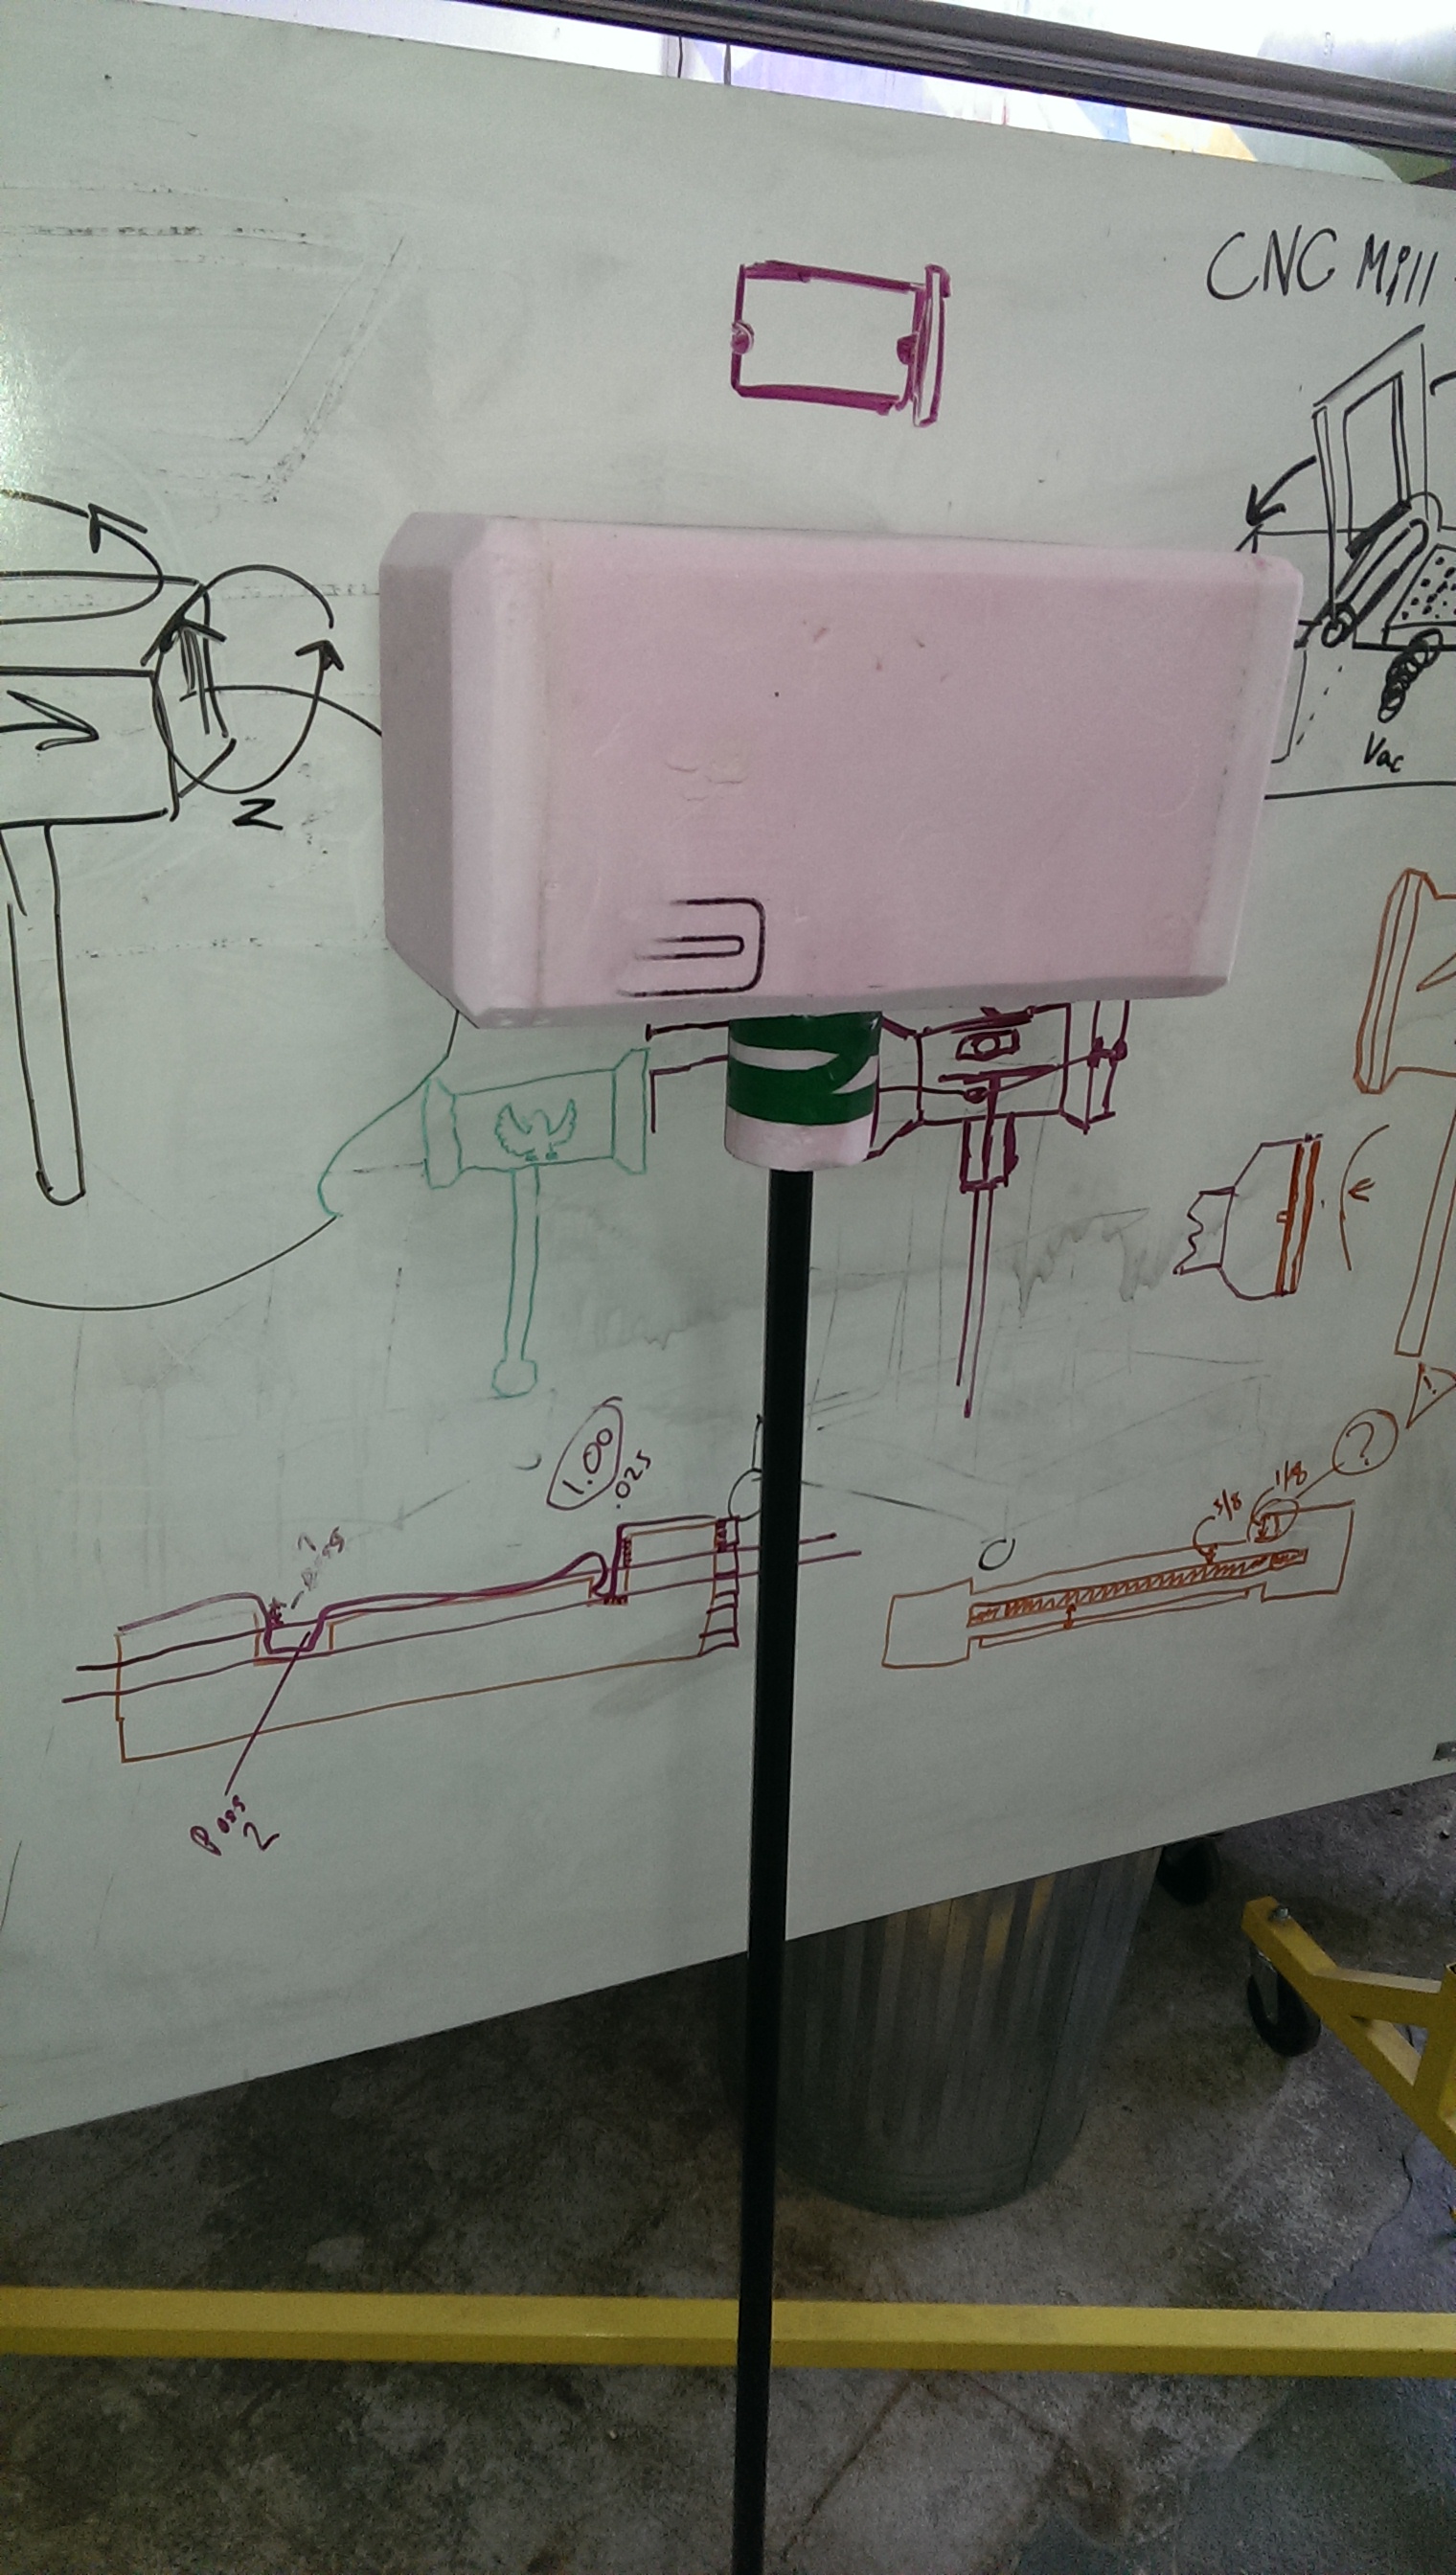
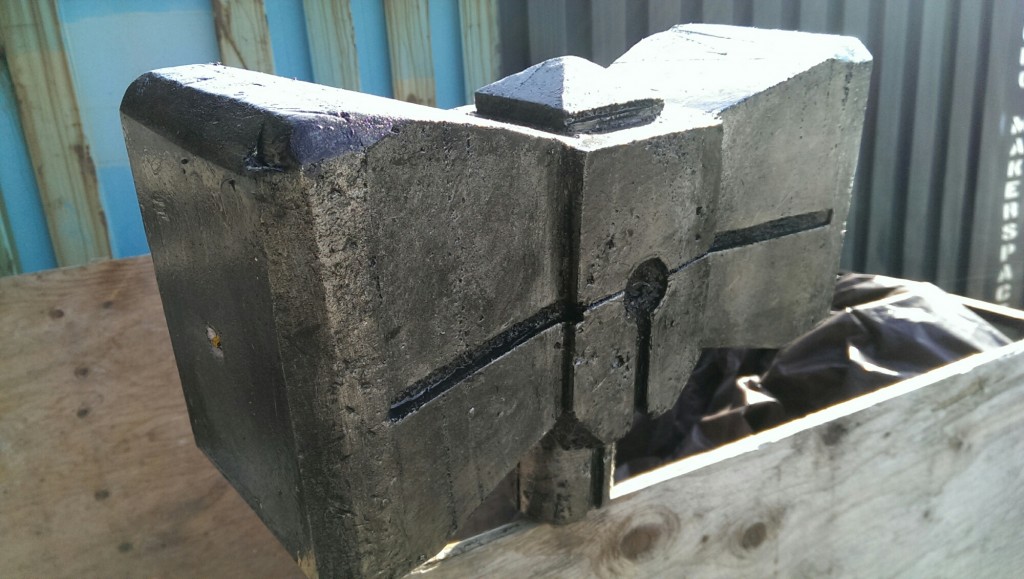
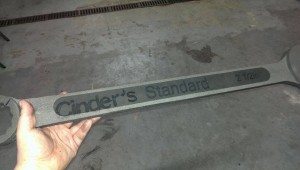
I have spent the last week or so experimenting with some ways to machine and cast foam props for LARPers and Cosplayers with my friend Jesse. Jesse makes these props by hand, and has some really good tutorials on making them, but we wanted to see just how much we could do by using the Laser cutter and CNC Mill at the SODO MakerSpace.
Here are a few photos of what we have been working on.
LARP Wrench
Throwing
12″
Foam Thickness: 1″ Y30?
Safety Padding: None
Safety Padding for striking surface: None
Core channel: None
Core Rod: None
Hot Glue tip: None
Melee Sm / 2hp
21″
Foam Thickness: 3/8″ (0.375″)
Safety Padding: NA
Safety Padding for striking surface: NA
Core channel: NA x 3/8″
Core Rod: NA x 3/8″
Hot Glue tip: NA on each end of Core Rod
Melee Standard
39″
Foam Thickness: 0.5″
Safety Padding: 3/8″ (0.375″) min
Safety Padding for striking surface: 0.5″ min
Core channel: 30.25″ x 0.5″
Core Rod: 27.25″ x 0.5″
Hot Glue tip: 1.5″ on each end of Core Rod
Melee LG
53 in
Foam Thickness: 3/4″
Safety Padding: 3/8″
Safety Padding for striking surface: 0.5″
Core channel: NA x 3/4″
Core Rod: NA x 3/4″
Hot Glue tip: 2″ on each end of Core Rod
Melee Two Handed (all the time) /3hp
63 in
Foam Thickness: NA
Safety Padding: 5/8″
Safety Padding for striking surface: 1″
Core channel: NA x 1″
Core Rod: NA x 1″
Hot Glue tip: 3″ on each end of Core Rod
The Hammer of Healing and Destruction
The LARP Hammer is a proof of concept that will use electronics to handle game mechanics as well as enhance game emersion by adding lights and sound. The image of the hammer is just an example and only the electronics are being developed for now. This post will be regularly updated with the projects progress.
The Weapon can both heal players as well as deliver powerful blows of devastation. This prop will have no buttons on it except to turn the power on. All actions and attacks will be initiated by wielding the weapon. Using the Adafruit LSM303 sensor, the weapon will track your moments to determine what mode you have selected or how much damage your hit dealt.
This will start out with four attack modes and one healing move.
Using the Hammer
To start the healing mode, you will need to hold the Hammer vertically for 30 seconds (to be set by the DM) without moving more than an inch or so. When the lights on the side turn green and start flashing, swing the hammer and hit the person that is to be healed. When you hear the crashing sound and the lights go out, you have just healed the player but it will not work again for 10 min (to be set by the DM)
A basic hit will register like a basic malay weapons, but only if the hit sound goes off meaning that the hit was hard enough to register.
If the hammer detects a half swing, the hit will be a low power move and count as a +1 hit. This is indicated by an energy discharge sound along with a short flash of light.
When the hammer completes a full 360 swing before hitting, this is a medium power move and counts as a +2 hit. This will make a more energetic sound with a brighter flash.
Three full 360 rotations of the hammer before a hit will activate the power hit delivering a +3 hit and the player that was hit will fall down for 10 seconds. This will make a bigger and long drown out discharge noise with a bright flash of lights. It can only be used 2 min after the last power move.
If you swing the hammer enough times to do the Power Hit, then hold the Hammer up vertically for 5 seconds, the lights will start to flicker and the power up sound will go off. When the lights go solid, slam the bottom of the hammers handle into the ground to activate the Power Move. This will unleash a blinding light and deep energy discharge. Everyone within 10 feet of you will take a malay hit as well as take 5 steps away from you. Once used the hammers energy will be drained and only standard malay hits will be available until it recharges in 10 min. If desired, the number of Power Moves can be limited and more given by using a special “key” that adds more on.
The Electronics
Sound Board Mapping:
- T00HOLDL.OGG – Healing charge for 30 seconds, then hit and discharge.
- T01.OGG – Emergency power up.
- T02.OGG – Ethereal Cry.
- T03.OGG – Ultra Bass Explosion
- T04.OGG – Power up Machine
- T05.OGG – Light Energy weapon
- T06.OGG – Heavy Energy weapon
- T07.OGG – Error sound.
Libraries used:
Sensor: https://learn.adafruit.com/flora-accelerometer/programming
Sound: https://learn.adafruit.com/adafruit-audio-fx-sound-board/serial-audio-control
Pins to be used:
Sound control:
- #5 (TX)
- #6 (RX)
- #4 (RST)
- #8 (ACT)
LEDs:
- #3
Hit Buttons:
- #14 – A0 Hammer Head hit (2 buttons for 1 trigger)
- #19 Bottom Handel hit
- #16 – A2 Copulative touch handle to activate the hammer.
Bluetooth Connection:
- #13
- #12
- #11
- #10
- #9
- #2
DIY Vacuum Former
This Saturday I will be trying to make a small Vacuum Former for heat forming plastic sheets. Vacuum Forming is a fast and easy way to copy 3D printed parts, provide a smooth plastic shell for finished products or to make your own Storm Trooper helmet.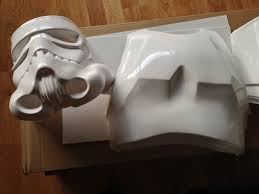
This will be my first time actually building one of these machines, but they are relatively easy and I have done similar stuff with heat forming acrylic using a toaster oven and home vacuum cleaner. The design will be loosely based on this Instructables tutorial.
For this build I will be using mostly reclaimed wood, two old toasters, and a small shop vacuum. I will be drawing up plans for the laser cutter and in the end I hope to publish a DIY guide to show others how to make a scalable version.
So much Make
Today I did an upgrade to the Shapeoko and made a rolling work bench for it. I also got to cut out a cool design that I put together before Christmas.


